
How to machine embroider a sweatshirt (without puckers)
How to embroider a sweatshirt with a machine: choosing the blank, stabilizer, placement below the collar, design size for S to XL, sleeves and aftercare.
Knowing how to embroider a sweatshirt with a machine mostly means knowing how to stop puckers. On a sweatshirt they have three usual causes: the fabric shrinks after it's stitched, the knit gets stretched in the hoop, or the stabilizer gives up after the first wash. Control those three and a sweatshirt is one of the friendlier things to embroider.
How to embroider a sweatshirt with a machine: the short version
- Choose a mid- to heavyweight sweatshirt with a smooth, tightly knit face.
- Pre-wash and dry it the way it will be washed later, then press it.
- Mark the center line, and the top of the design about 3 in below the collar seam on adult sizes.
- Hoop it with 1 layer of medium cut-away stabilizer, smooth but not stretched, or float it on hooped stabilizer.
- Add a water-soluble topping if the face is fuzzy or textured.
- Fold the rest of the sweatshirt out of the way and clip it to the hoop.
- Stitch with a new 75/11 needle at a moderate speed.
- Trim the stabilizer, remove the topping and press from the back.
Choosing the blank: the best sweatshirts for embroidery
The best sweatshirts for embroidery have less to do with the label than with the knit. Look for:
- A smooth, tight face. The outside should feel flat and dense, so fine lines and small lettering sit on top instead of sinking in.
- Mid- to heavyweight fleece. A thin sweatshirt puckers more easily and can show the stabilizer through the front.
- A cotton-polyester blend if you want less shrinkage. 100% cotton is soft, but it shrinks more, so pre-washing matters even more.
- A plain front in the design area, with no seams, pockets or printed labels. On a hoodie, check that the pocket leaves room below the design.
- The right color for the design. Our Heirloom Christmas designs use the fabric as their light parts, so they need cream, white, oatmeal or light gray. For a black sweatshirt, pick a design built the other way around, as explained in designing for black fabric.
Pre-wash it
Wash and dry the sweatshirt the way it will be washed later, without fabric softener, then press it. Cotton shrinks most in the first few washes. If that happens after embroidery, the fabric around the design shrinks and the stitched area doesn't, and you get a puckered ring that won't press out. Skip the softener because it can leave a coating that keeps a fusible stabilizer from bonding.
Placement: where the design goes on the front
On adult sizes, the top of a center-front design usually sits about 3 in below the collar seam, the line where the ribbing joins the body. That's roughly the width of four fingers. Too low is the most common mistake: a design that looks centered on a sweatshirt lying flat ends up on the stomach once it's worn.
To measure:
- Lay the sweatshirt flat, front up, and smooth it without stretching it.
- Fold it in half lengthwise, matching the shoulder seams and the side seams, and finger-press a crease down the front. That crease is your center line.
- On the center line, measure 3 in down from the collar seam and mark the top of the design with a water-soluble pen or chalk.
- Add half the design's height to find its center. For a design 6 in tall, the center sits 3 + 3 = 6 in below the seam. Mark it with a small cross to line up with the hoop's center marks.
- Print the design at actual size from your embroidery software, or cut a paper rectangle the same size, pin it on and try the sweatshirt on in front of a mirror. Adjust before you hoop.
For kids' sizes, move it up: about 2 in below the seam is a common starting point for youth sizes, and less for toddlers. On a hoodie, measure from the bottom of the neckline, where the edges of the hood meet at the center front. If you're stitching several sweatshirts, measure each one from its own collar.
Embroidery design size for a sweatshirt, S to XL
A center-front design should be in proportion to the chest. These are starting points, not rules:
| Sweatshirt size | Center-front design width | Heirloom size to use |
|---|---|---|
| Kids' sizes | about 3.5 to 6 in | 5 × 7 in, or 4 × 4 in on small sizes |
| Adult S to M | about 6 to 7.5 in | 8 × 12 in, or 6 × 10 in for a smaller look |
| Adult L to XL | about 7 to 9 in | 8 × 12 in |
So one size covers adult S to XL: the 8 × 12 file of a lettered Heirloom design, up to about 7.5 in wide. A full-front design that spans most of the chest is a different look; those usually run 8 in wide and more, and need a large hoop. Embroidery hoop sizes shows what each hoop takes.
Heirloom 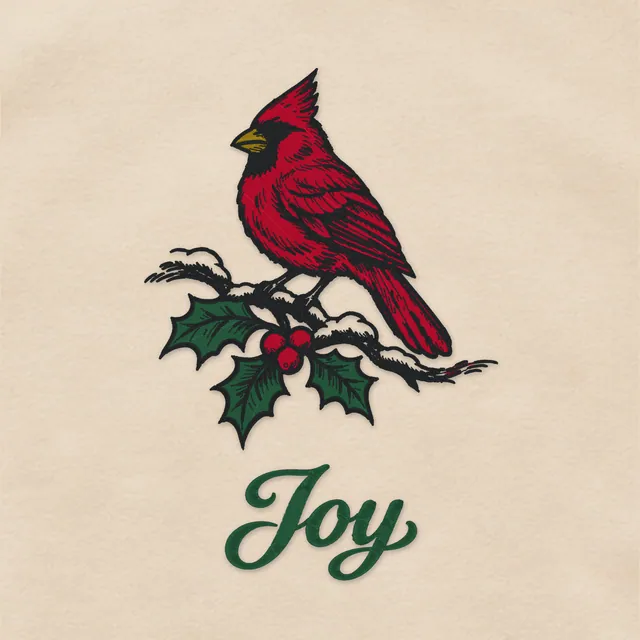 $2.99
Joy: Cardinal on Snowy Holly
Embroidery file · 190×275 mmHeirloom 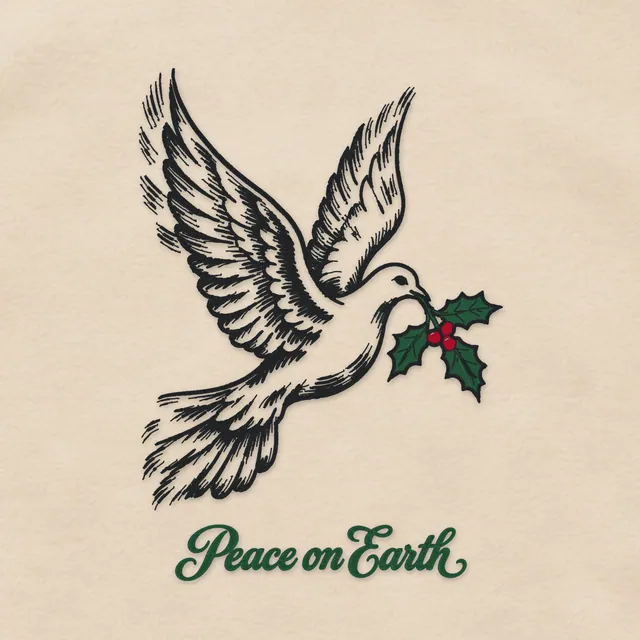 $2.99
Peace on Earth: Dove with Holly
Embroidery file · 190×268 mmHeirloom 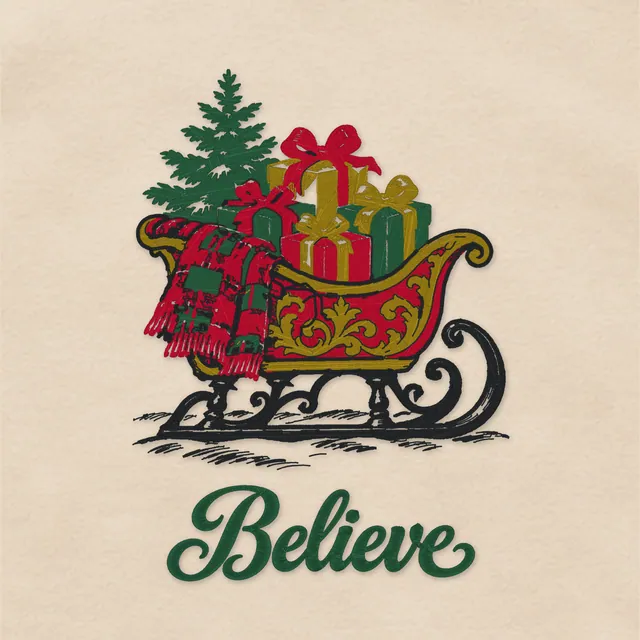 $2.99
Believe: Antique Christmas Sleigh
Embroidery file · 185×251 mm
Embroidery stabilizer for a sweatshirt: cut-away, not tear-away
Use 1 layer of medium-weight cut-away. A sweatshirt is a knit, and knits stretch. Tear-away holds the fabric while the machine stitches, but once it's torn off, nothing supports the stitches. Every time the sweatshirt is pulled on or washed, the knit stretches around the design, and the outlines drift away from the colors they should frame. Cut-away stays behind the design for the life of the garment.
- Medium cut-away suits most sweatshirts. Under light fabric, use white, so it doesn't shadow through.
- Fusible cut-away, ironed onto the inside, keeps the knit from stretching while you hoop it.
- Temporary spray adhesive, a light mist on the stabilizer rather than the garment, sprayed away from the machine, stops the layers from shifting.
Hooping or floating
Hooping the sweatshirt and stabilizer together gives the best registration, which matters when fine outlines sit on top of color, like the charcoal lines in the Heirloom designs. Slide the outer ring inside the sweatshirt with the stabilizer on top of it, line up your marks with the hoop's center marks and press the inner ring in from the front. The fabric should be smooth and firm, but not stretched: the ribs of the knit stay straight. Don't tug the fabric to tighten it after hooping. A knit stretched in the hoop relaxes when it comes out, and that's a pucker.
Floating means hooping the stabilizer alone and laying the sweatshirt on top. Use cut-away with a light mist of spray adhesive, smooth the sweatshirt onto it, and run your machine's basting stitch around the design area so the fabric can't creep. Floating avoids hoop marks on thick fleece and helps when a heavy sweatshirt won't sit well in the hoop. It's a little less precise than hooping, so baste every time.
If the hoop leaves a ring on fleece, hold a steam iron just above it without pressing, and the pile lifts back up.
Before you attach the hoop, fold or roll the back of the sweatshirt and the sleeves away from the stitch field and clip them to the hoop frame. Then check underneath: only the front layer and the stabilizer should be inside the hoop. Stitching through the back is the classic sweatshirt mistake, and there's no neat way to undo it.
Topping on fleece
Most sweatshirts are smooth knit outside and brushed fleece inside. On that smooth face, a topping is optional, though it helps fine lines and small lettering stay crisp. On a fuzzy or textured face, such as polar fleece, sherpa or a brushed outside, use a water-soluble topping every time, or the pile swallows the details. Hoop it with the sweatshirt, or pin it in place when you float. After stitching, tear away the excess; the rest dissolves with a damp cloth or in the wash.
Stitching it
- Needle: a new 75/11 embroidery needle. Our production sheets list a sharp, which pierces a dense, smooth sweatshirt face cleanly. On a thin or loosely knit sweatshirt, use a ballpoint instead: it slips between the loops rather than cutting them, and small holes along the stitching are the sign you need one.
- Thread: 40 wt polyester embroidery thread on top, and 60 or 90 wt bobbin thread, white under light fabric.
- Speed: moderate. The production sheets for our Heirloom designs suggest 600–750 stitches per minute; on a home machine, a medium setting is a safe start.
- Watch the first color: if the fabric starts to ripple, stop and re-hoop before going further.
Test the whole setup on a scrap of similar knit, or an old sweatshirt, before the real one. A small test swatch costs a few minutes; a ruined sweatshirt costs more.
Embroider on a sweatshirt sleeve
Placement. Lay the sleeve flat with the underarm seam underneath. The top fold is the outer line of the sleeve, and the design centers on it. The upper arm, a few inches below the shoulder seam, is the most visible spot. Near the wrist, place it just above the cuff ribbing, or run lettering up the forearm. Sleeves vary too much for one measurement, so try the sweatshirt on and mark the spot.
Size. Sleeve designs are small. The 4 × 4 size of an Heirloom design, the picture alone, fits an adult sleeve. For a design that runs down the sleeve, our sleeve embroidery designs are long and narrow: about 9.5 in long in the 6 × 10 size and 6.75 in in the 5 × 7.
Hooping. A sleeve is a narrow tube, and only one layer may go under the needle.
- On a multi-needle machine with a tubular arm, slide the sleeve over the arm and use a small round hoop.
- On a flatbed home machine, use your smallest hoop. Near the top of the sleeve, where it's widest, you may be able to hoop or float one layer and roll the rest of the sleeve onto the hoop frame, clipped clear of the stitch field.
- Where the sleeve is too narrow for that, unpick the underarm seam far enough to lay the area flat, stitch it, and sew the seam closed again.
Whichever way you do it, check the underside before you press start.
Aftercare
- Trim the cut-away about 1/4 to 1/2 in from the stitching, rounding the corners so nothing pokes. Keep the scissors flat and away from the sweatshirt itself.
- Remove the topping: tear away what's loose and dab the rest with a damp cloth.
- Press from the back, design face down on a towel, so the stitches keep their texture. Don't iron directly on the embroidery, and be extra careful with metallic thread.
- Wash inside out on a gentle cycle, then tumble dry low or hang it to dry.
- For kids and sensitive skin, iron a soft fusible backing over the inside of the stitching. It covers the stabilizer edges and keeps the inside comfortable.
Questions
What is the best stabilizer for embroidering a sweatshirt?
1 layer of medium cut-away, with a water-soluble topping on a fuzzy or textured face. Save tear-away for woven fabrics like linen and canvas.
How far below the collar should a sweatshirt design go?
On adult sizes, the top of the design usually sits about 3 in below the collar seam, measured down the center line. Kids' sizes go higher, about 2 in on youth sizes. Check with a paper template before you hoop.
What size should a sweatshirt embroidery design be?
For adult S to XL, a center-front design about 6 to 9 in wide. The 8 × 12 Heirloom size, up to about 7.5 in wide, sits inside that range.
Why did my sweatshirt pucker after washing?
Usually one of four things: it wasn't pre-washed and shrank, the knit was stretched in the hoop, tear-away was used instead of cut-away, or the design is too dense for the fabric.
Ready for the real thing? The Heirloom Christmas designs are made for light sweatshirts, with an 8 × 12 size for adult fronts and a 4 × 4 size for sleeves. Test your setup on the free ornament first, or send us your own art: your first custom design is free.