
Metallic thread tips for machine embroidery: 9 ways to stop breaks
Machine embroidery metallic thread tips that stop breaks and loops: the right needle, a thread stand, looser tension, slower speed and designs that suit it.
Metallic thread is the quickest way to make embroidery look special, and the quickest way to spend an evening rethreading. Its problems (breaks, shredding, kinks and loops) come from a short list of causes: friction, twist and tension. These machine embroidery metallic thread tips deal with each of them, on single-needle and multi-needle machines alike.
Why metallic thread breaks
Most embroidery metallics are a core thread wrapped in a thin metallic foil. Flat "holographic" metallics are a narrow strip of film. Either way, metallic thread stretches less than polyester, frays when the foil catches on anything rough, and kinks when it's twisted. A needle eye that's too small, a burr, a tight tension or a fast machine is often all it takes.
9 machine embroidery metallic thread tips
1. Use a metallic or topstitch needle
A metallic or topstitch needle has a larger eye and a deeper groove than a standard embroidery needle, so the thread passes through with less friction. Use size 80/12 to 90/14. The 75/11 that suits regular 40 wt thread is usually too tight a fit for metallic.
2. Start with a fresh needle
Metallic thread is hard on needles, and a worn or burred eye shreds it. Put in a new needle when you start a metallic project, and change it again if breaks start after it has been running well.
3. Feed it from a thread stand or a vertical spool pin
Thread pulled off the end of a spool picks up a twist with every wrap. Polyester copes with that. Metallic kinks, and the kinks snag in the guides or get stitched in as little loops. Let the spool turn on a vertical spool pin so the thread comes off the side, or set it on a separate thread stand a little behind the machine, which gives the twist room to relax before the first guide. If the thread slides down a cone and tangles, slip a thread net over it.
4. Loosen the top tension
Metallic needs less top tension than polyester. Lower it a little at a time (a step on a home machine, or a small turn of that needle's tension knob on a multi-needle machine) until the thread runs without breaking. Then check the back: on a satin column, about a third of the width should show bobbin thread down the middle. If the metallic starts to loop on the back, you've gone too far.
5. Slow down
Speed adds heat and friction at the needle. On a home machine, choose one of the slower settings. On a multi-needle machine, run metallic steps well below the 600–750 stitches per minute our Heirloom production sheets give for regular thread, and raise the speed only while the run stays clean.
6. Keep regular thread in the bobbin
Use your usual 60 or 90 wt bobbin thread, white or matched to the fabric. For regular machine embroidery, metallic goes on top only.
7. Start with a round metallic
Round, wrapped metallics are the easier kind to run. Flat film threads sparkle more, but they twist more readily and almost always need a vertical spool pin and a slower speed. For a first metallic project, a round gold in 40 wt is the forgiving choice.
8. Pick designs that suit metallic
Metallic prefers longer stitches and lighter density. Satin columns, running lines and open fills run well. Dense fills packed with short stitches, tiny lettering and areas stitched on top of other stitching all add friction, and that's where it shreds. Small accents in metallic, like a star, a pair of bells or a border, also look richer than a big gold area.
If a design was digitized for regular thread, metallic will usually still run on its satins and lines. If one dense area keeps breaking, stitch that area in regular thread.
9. Test on the same fabric first
Stitch the metallic color on a scrap of the real fabric, with the same stabilizer, and find the right tension and speed on something that doesn't matter. Our test swatch guide lists what to check.
What about silicone thread lubricant?
Opinions are split. Some embroiderers put a few drops of silicone thread lubricant on the spool, or run the thread over a lubricant pad, and say it cuts down on breaks. Others never use it: it can build up in the tension discs and the thread path, collect lint and spot some fabrics, and some machine manuals say not to put any liquid in the thread path. Check your manual first and work through the nine tips above before reaching for it. If you do try it, use very little and test on a scrap.
Why does embroidery thread keep breaking?
Metallic or not, thread breaks usually come from one of these. Work down the list:
- Threading: the thread has jumped out of a guide or isn't seated in the tension discs. Rethread the whole path.
- The spool: the thread is catching on the notch in the spool's rim, or the spool can't turn freely.
- The needle: it's old, bent or burred, the wrong size for the thread, or not pushed all the way up.
- Tension: the top tension is too tight for the thread.
- The thread itself: thread stored for years in sun or heat can turn brittle.
- The design: too dense for the fabric, or stitching over thick seams and many layers.
- The bobbin area: lint in the bobbin case, or a burr on the needle plate from an old needle strike.
- Speed: faster than the thread can handle.
If the breaks always happen at the same spot in the design, look at the design and the fabric there. If they happen anywhere, look at the thread path, the needle and the tension.
Gold metallic in the Heirloom Christmas designs
The Heirloom Christmas designs use four Madeira Polyneon threads: 1800 charcoal, 1747 Christmas red, 1970 holly green and 1759 antique gold. For a special finish, swap the gold for a gold metallic. In this line, gold is used for accents, such as the bells on the wreath frame, the golden windows of the log cabin, the star on the Christmas tree and the filigree band on the ornament, and accents are where metallic looks best.
- The production sheet lists the colors in stitching order, so you know when the gold comes up.
- On a single-needle machine, change to a metallic needle when the machine stops for the gold, and back to your usual needle for the next color.
- On a multi-needle machine, fit the metallic needle on the needle bar that carries the gold, and slow the machine down for that step.
- The files are digitized for the Polyneon gold. If a filled gold area frays in metallic, stitch that area in 1759; the design reads the same.
Try it first on the free Heirloom ornament, whose gold filigree band makes a small, low-risk test. The free ornament guide shows how to get it, and Christmas machine embroidery designs has project ideas for the rest of the line, sorted by hoop size.
Free 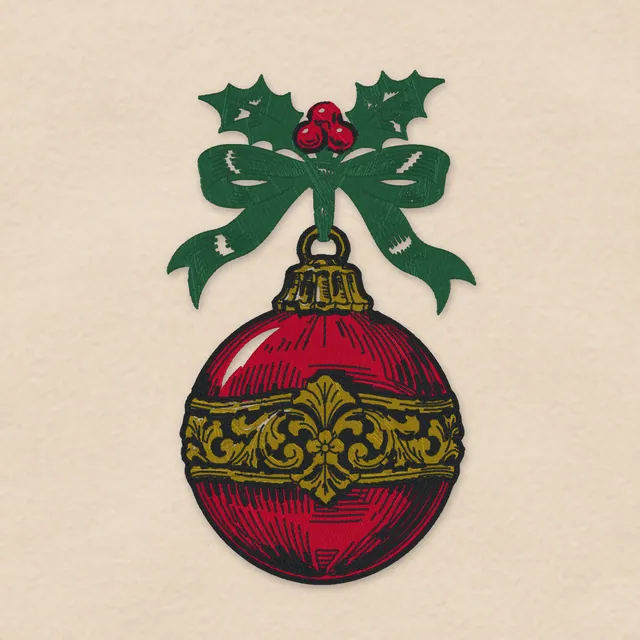 Free
Heirloom Glass Ornament
Embroidery file · 103×172 mmHeirloom 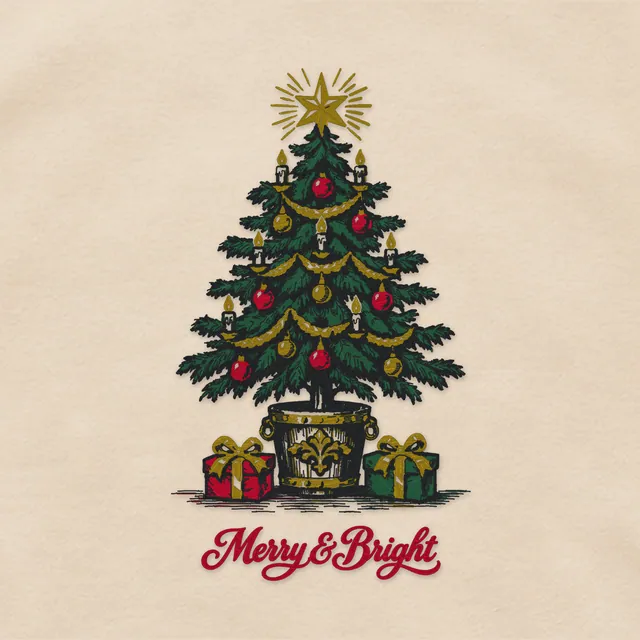 $2.99
Merry & Bright: Victorian Christmas Tree
Embroidery file · 169×290 mmHeirloom  $2.99
Heirloom Christmas Wreath Monogram Frame
Embroidery file · 148×189 mmHeirloom  $2.99
Let It Snow: Log Cabin in the Pines
Embroidery file · 192×273 mm
Questions
What needle should I use for metallic thread?
A new metallic or topstitch needle, size 80/12 to 90/14. The larger eye cuts the friction that shreds the thread.
Should I loosen the tension for metallic thread?
The top tension, yes, a little at a time, until it runs cleanly with about a third bobbin showing on the back of satin columns. Leave the bobbin tension alone.
Can I put metallic thread in the bobbin?
Not for regular machine embroidery. Keep your usual bobbin thread underneath and the metallic on top.
Can I wash and iron metallic embroidery?
Metallics made for machine embroidery are generally washable, but check the care notes on the spool. Wash inside out, dry on low, and press from the back on a towel. A hot iron directly on metallic thread can damage it.
Why does my metallic thread kink?
Twist, usually from pulling it off the end of the spool. Use a vertical spool pin or a thread stand behind the machine, and a thread net on a slippery cone.
Next step: download the free ornament, thread up a gold metallic and stitch it on a scrap of linen. If it runs clean, the rest of the Heirloom Christmas line has more gold to stitch, and the All Access pass covers every design for 30 days at $4.90. Want your own design digitized with metallic in mind? Say so in the notes when you order custom digitizing.