
Christmas stocking embroidery: designs, sizes and adding a name
How to embroider a Christmas stocking: blanks that open for hooping, floating on sticky stabilizer, cuff or leg placement, design sizes and adding a name.
Christmas stocking embroidery designs are rarely the problem. The stocking is. It's a closed pocket with seams, a lining and sometimes padding, and the machine has to stitch through the front layer only. Get the blank and the hooping right and the rest is like any other project. Here's how to embroider a Christmas stocking, from choosing the blank to stitching a name inside a wreath.
Choosing a stocking blank
Christmas stocking blanks for embroidery are made to open, and that's the feature to look for:
- A zipper along the back or a side seam, so the stocking opens flat.
- An opening in the lining, so you can reach behind the front layer with the stabilizer.
- A cuff that opens or comes off, so a name can go on the cuff without the leg getting in the way.
- Smooth, light fabric for fine detail: cream canvas, linen, cotton or felt. Chunky cable knits, velvet and faux fur hide fine lines in their texture.
A stocking without any of these can still be done, but you'll usually have to unpick a seam and sew it closed afterward. If you sew, the easiest stocking of all is one you embroider before it's assembled: stitch the front panel flat, then sew the stocking around it.
The Heirloom Christmas designs need light fabric, since their light parts are the fabric itself. A red or green stocking with a cream cuff works: put the design on the cuff.
Cuff or leg?
The cuff is where names usually go, and it's what people see first when the stockings hang in a row. It's narrow, so measure it flat and keep the design at least about 1/2 in from the top edge and from the seam where the cuff meets the leg.
The leg, the body of the stocking, takes a bigger picture. Center it across the width of the leg, a little below the cuff, where it shows when the stocking hangs.
Mind the direction. A stocking hangs with its toe pointing one way, and the design has to be upright when it hangs, not when it lies in the hoop. If the stocking only fits the hoop sideways, rotate the design on screen to match.
Which Christmas stocking embroidery designs fit
Whatever Christmas stocking embroidery file you use, measure the flat area you can stitch, inside the seams, and pick a size that fits with room to spare:
| Where | What goes there | Heirloom size |
|---|---|---|
| Cuff | A name, an initial or a small picture | 4 × 4 in: the picture alone, or the wreath frame with a name |
| Leg of a standard stocking | A picture, with or without a name under it | 4 × 4 in |
| Leg of a large stocking | A picture with its word, or a framed name | 5 × 7 in |
The 4 × 4 size of each lettered Heirloom design is the picture alone, without the word, which suits a standard stocking. The 5 × 7 size keeps the hand-lettered word, so "Joy", "Noel" or "Believe" can go on a big stocking. Embroidery hoop sizes lists the stitch field of each hoop.
Heirloom 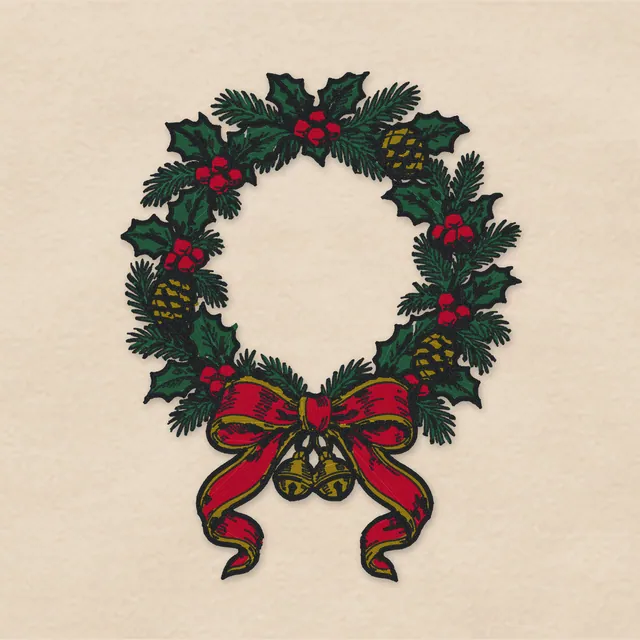 $2.99
Heirloom Christmas Wreath Monogram Frame
Embroidery file · 148×189 mmHeirloom 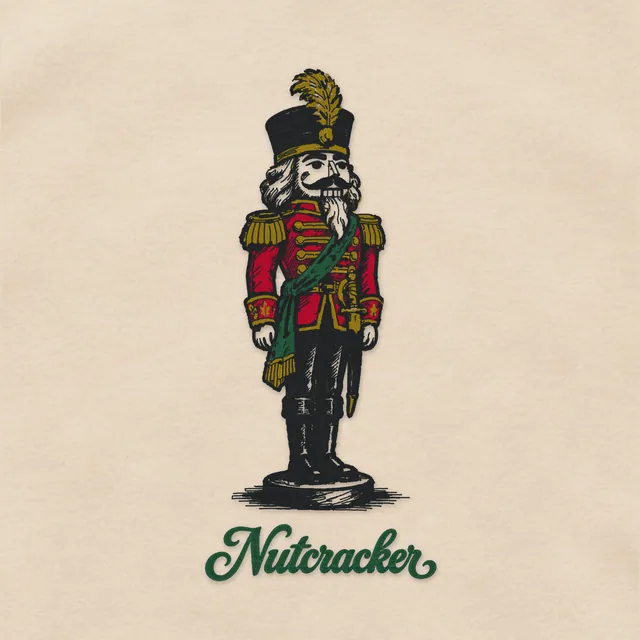 $2.99
Nutcracker: Antique Nutcracker Soldier
Embroidery file · 129×286 mmHeirloom 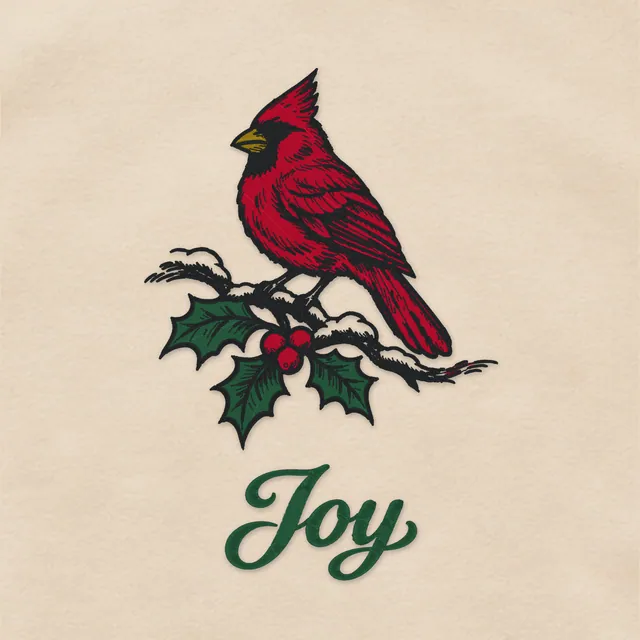 $2.99
Joy: Cardinal on Snowy Holly
Embroidery file · 190×275 mm
Floating a stocking on sticky stabilizer
Stockings rarely sit well in a hoop: the seams, lining and thickness get in the way. Floating avoids that. You hoop the stabilizer alone and stick the stocking to it.
- Open the zipper or lining and lay the front layer flat, face up.
- Mark the design's center with a water-soluble pen, plus a short arrow showing which way is up.
- Hoop a sticky tear-away stabilizer, paper side up, drum-tight. Score the paper inside the hoop with a pin and peel it away.
- Line your marks up with the hoop's center marks and press the stocking onto the sticky surface, front layer only.
- Fold the back, the lining and the toe away from the stitch field and clip them to the hoop frame.
- Run your machine's basting stitch around the design area, so the stocking can't creep.
- Stitch, then take out the basting, tear away the stabilizer and close the stocking.
On a knit stocking, use cut-away instead, held with a light mist of spray adhesive, so the stitches stay supported when the stocking is stuffed full. On velvet, faux fur or a chunky knit, lay a water-soluble topping over the area so the stitches stay on top of the pile.
Christmas stocking embroidery font: adding a name
You don't need a font file to add a name: your machine's built-in lettering does it. That's what the Heirloom Wreath Monogram Frame is designed for: a holly and pine wreath with a red bow and two gold bells, with no lettering and the center left open for an initial or a name. It comes in sizes for 6 × 10, 5 × 7 and 4 × 4 hoops.
- Load the frame on your machine, or in your embroidery software.
- Add the name with the built-in lettering and choose a font.
- Size it to fit the opening with a clear gap to the leaves, and use the centering function to put it in the middle.
- Pick the thread: Christmas red (Madeira Polyneon 1747) or holly green (1970) matches the frame and the script on the other Heirloom designs.
Choosing the font:
- Script looks classic inside a wreath and suits a single initial or a short name.
- Block capitals stay readable at small sizes, so use them for longer names.
- Letter height: keep capitals at least about 5 mm (roughly 1/4 in) tall. Below that, satin letters start to close up, as why small logos lose their details explains.
- Long names in a small frame force tiny letters. Use a larger frame size, or an initial instead.
Want the name in the same hand-lettered script as the Heirloom words? No built-in font does that, but we can digitize it: your first custom design is free, and after that each one is $10 at any size.
Stitch the name after the frame
Stitch the frame first and the name last, and check the alignment in between. The stitched wreath shows exactly where the opening landed on the fabric, and if anything shifted, you can still move the name before a single letter is stitched.
The reliable way:
- Stitch the frame as its own design.
- Leave the stocking in the hoop and load the name as a second design.
- Use your machine's trace (or trial) function to check that the name sits centered inside the stitched wreath. Nudge it with the arrow keys until it does.
- Stitch the name.
If you combined the frame and the name into one file in software, make sure the name comes last in the stitching order, and run the trace before you start. For a first stocking, sew the frame and a name once on a scrap of the same fabric: a test swatch shows the alignment and tension before you commit the real stocking.
Questions
How do I embroider a stocking that doesn't open?
If you can't get the front layer flat in the hoop without the back underneath, unpick part of a seam or the lining, stitch, and sew it closed again. Blanks with a zipper or an open lining save that step.
What size design fits a stocking cuff?
Measure the cuff flat. Many take a 4 × 4 design, either the picture alone or the wreath frame with a name, with about 1/2 in clear of the edges.
Which stabilizer is best for stockings?
A sticky tear-away for floating canvas, linen and felt, cut-away on knit stockings, and a water-soluble topping on velvet, faux fur and chunky knits.
Can I put an Heirloom design on a red stocking?
On a cream or white cuff, yes. The designs are made for light fabric, because the fabric is part of the picture.
Pick the frame and the pictures from the Christmas collection, stitch one stocking as a test, then do the rest of the family. More gift ideas, sorted by hoop size, are in Christmas machine embroidery designs.