
Machine embroidered Christmas ornaments: designs, felt and two easy ways to finish them
How to make machine embroidered Christmas ornaments with a 4 × 4 hoop: which designs to use, felt or linen, and two easy finishes (a flat felt ornament and a mini embroidery-hoop ornament), with three free designs to start.
Embroidered ornaments are the quickest Christmas gifts you can make on a machine: a 4 × 4 design, a scrap of felt or linen, and 20 minutes of stitching. Here are the designs that work, the fabric, and two easy ways to turn the stitching into an ornament.
Free 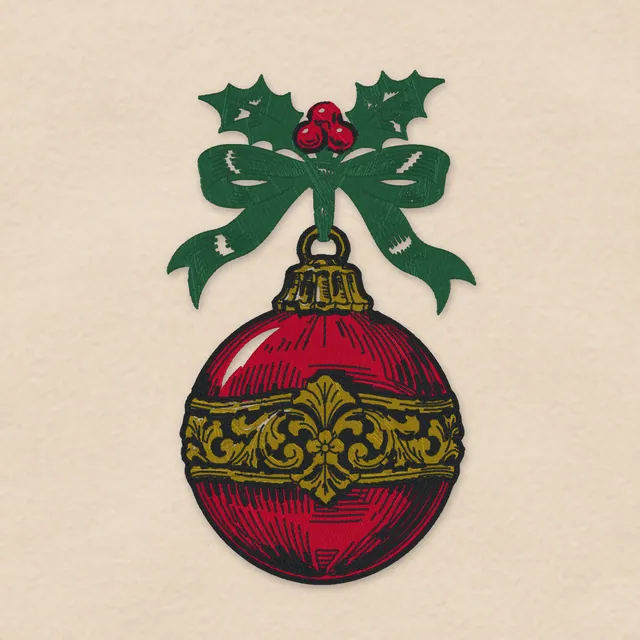 Free
Heirloom Glass Ornament
Embroidery file · 103×172 mmFree 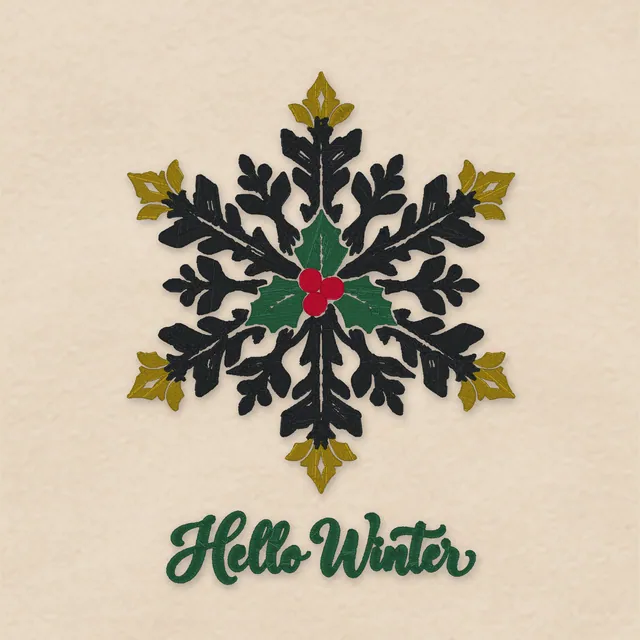 Free
Hello Winter: Snowflake with Holly
Embroidery file · 122×161 mmFree  Free
Deck the Halls: Holly Sprig
Embroidery file · 122×149 mm
Which designs make good ornaments
Small, simple designs with an outline that's easy to cut around. The 4 × 4 sizes of our Heirloom Christmas line are about 3.5 to 3.75 in tall, drawn in four threads at most, and the quickest stitch in 10 to 20 minutes:
- Free with your email: the glass ornament, the Hello Winter snowflake and the Deck the Halls holly.
- Quick ones: the Peace on Earth dove (10 minutes), the Noel reindeer, the nutcracker, the ice skates and the snowman. The run times are in simple Christmas machine embroidery designs.
- Pet ornaments: our Christmas dogs and cats in Santa hats, in 4 × 4. Add the pet's name under it with your machine's lettering and it's a gift people keep for years.
Felt or linen?
- Felt for flat ornaments. Wool or wool-blend felt holds stitches much better than thin acrylic craft felt, which stretches and lets the stitches sink. Hoop it with a medium tear-away underneath.
- Linen or cotton for hoop ornaments. Use a light tear-away, or a no-show mesh cut-away if the fabric is thin, so the stitching stays flat inside the frame.
The designs are made for light fabric: cream or white felt, natural linen, oatmeal or light gray. The light parts of each picture are the fabric itself.
Finish 1: a flat felt ornament
- Hoop the felt with a medium tear-away and stitch the 4 × 4 design.
- Tear the stabilizer away gently, holding the stitches with your thumb.
- Cut around the design, leaving a border of about 1/4 in of felt. A rounded or simple shape is easier than following every point.
- Cut a second piece of felt the same shape for the back.
- Fold a 6 in ribbon into a loop and lay its ends between the two layers at the top.
- Glue the layers together with fabric glue, or sew them with a running stitch or a blanket stitch around the edge by hand.
Finish 2: a mini embroidery-hoop ornament
- Stitch the design on linen or cotton, with enough fabric around it to fit a 5 in wooden hoop. The 4 × 4 designs are about 3.75 in tall, so a 5 in hoop leaves a calm border; a 4 in hoop is too tight.
- Remove the stabilizer, press the stitching face down on a towel, and set it in the wooden hoop, centered and taut.
- Trim the fabric at the back to a circle about 1 in bigger than the hoop, and gather it with a running stitch or glue it to the inner ring.
- Glue a circle of felt over the back to hide it.
- Tie a ribbon through the screw at the top to hang it.
Make a set
All the designs share the same four threads (charcoal, Christmas red, holly green and antique gold), so a set of ornaments matches on the tree or in a gift box. Stitch a few in a row in one hooping session, then finish them all at once.
From $0.99 a design
Every design is priced on its own, $0.99 to $2.99, in all sizes and all six formats (PES, DST, JEF, EXP, VP3 and XXX). No subscription. Want an ornament with your own drawing or logo? Your first custom design is free, up to 4 in. More ideas in Christmas machine embroidery ideas.
Questions
Are these in-the-hoop ornament files?
No. They're flat designs that you stitch on felt or linen and then finish by hand, as above. That works on any machine, and the same design also fits a sweatshirt, a tea towel or a stocking.
Can I make bigger ornaments?
Yes. Use the 5 × 7 size of the design with a wooden hoop about 2 in bigger than the design, or a bigger piece of felt. Every design page lists the exact size of each version.
Will felt pucker?
Not with a stabilizer under it. Hoop felt firmly but don't stretch it, and use a medium tear-away. Thick, soft felt can take a water-soluble topping on top so the stitches don't sink.
Can I sell the ornaments?
Yes. You can sell what you stitch with our designs. Just don't share or resell the files.